Introduction
Many entrepreneurs assume that professional-looking video requires expensive cameras, elaborate lighting setups, or specialized production skills. In reality, modern smartphones are genuinely capable of producing video quality that looks polished and professional, when combined with a few thoughtful, easily learned techniques around lighting, framing, and audio.
The gap between amateur-looking and professional-looking smartphone video often comes down to a handful of specific, practical adjustments, rather than expensive equipment. In this article, we’ll walk through exactly how to record genuinely professional-looking video using nothing more than your smartphone.
The Problem: Assuming Quality Requires Expensive Equipment
Many entrepreneurs either avoid video entirely or accept lower-quality results, based on a few common misconceptions:
- Believing professional cameras are necessary, when modern smartphone cameras are genuinely capable of high-quality video output.
- Underestimating the impact of lighting, which often matters more for perceived quality than the camera itself.
- Ignoring audio quality, despite viewers generally being more forgiving of imperfect visuals than poor sound.
- Overcomplicating the setup process, assuming professional results require extensive technical knowledge or expensive additional equipment.
Understanding a handful of specific, practical techniques removes these barriers, allowing genuinely professional-looking results without significant additional investment.
Practical Tips: Recording Professional-Looking Smartphone Video
1. Prioritize Natural Lighting Whenever Possible
Position yourself facing a window or bright natural light source, rather than relying on harsh overhead artificial lighting or filming with your back to a window, which creates unflattering silhouettes.
Practical tip: Film during daytime hours near a large window for the most flattering, natural-looking light, avoiding direct, harsh midday sunlight if possible.
2. Clean Your Camera Lens Before Recording
A simple, often overlooked step — wiping your smartphone’s camera lens with a soft cloth before recording — can meaningfully improve image clarity, since lenses frequently accumulate smudges from regular handling.
3. Use a Stable Surface or Simple Tripod
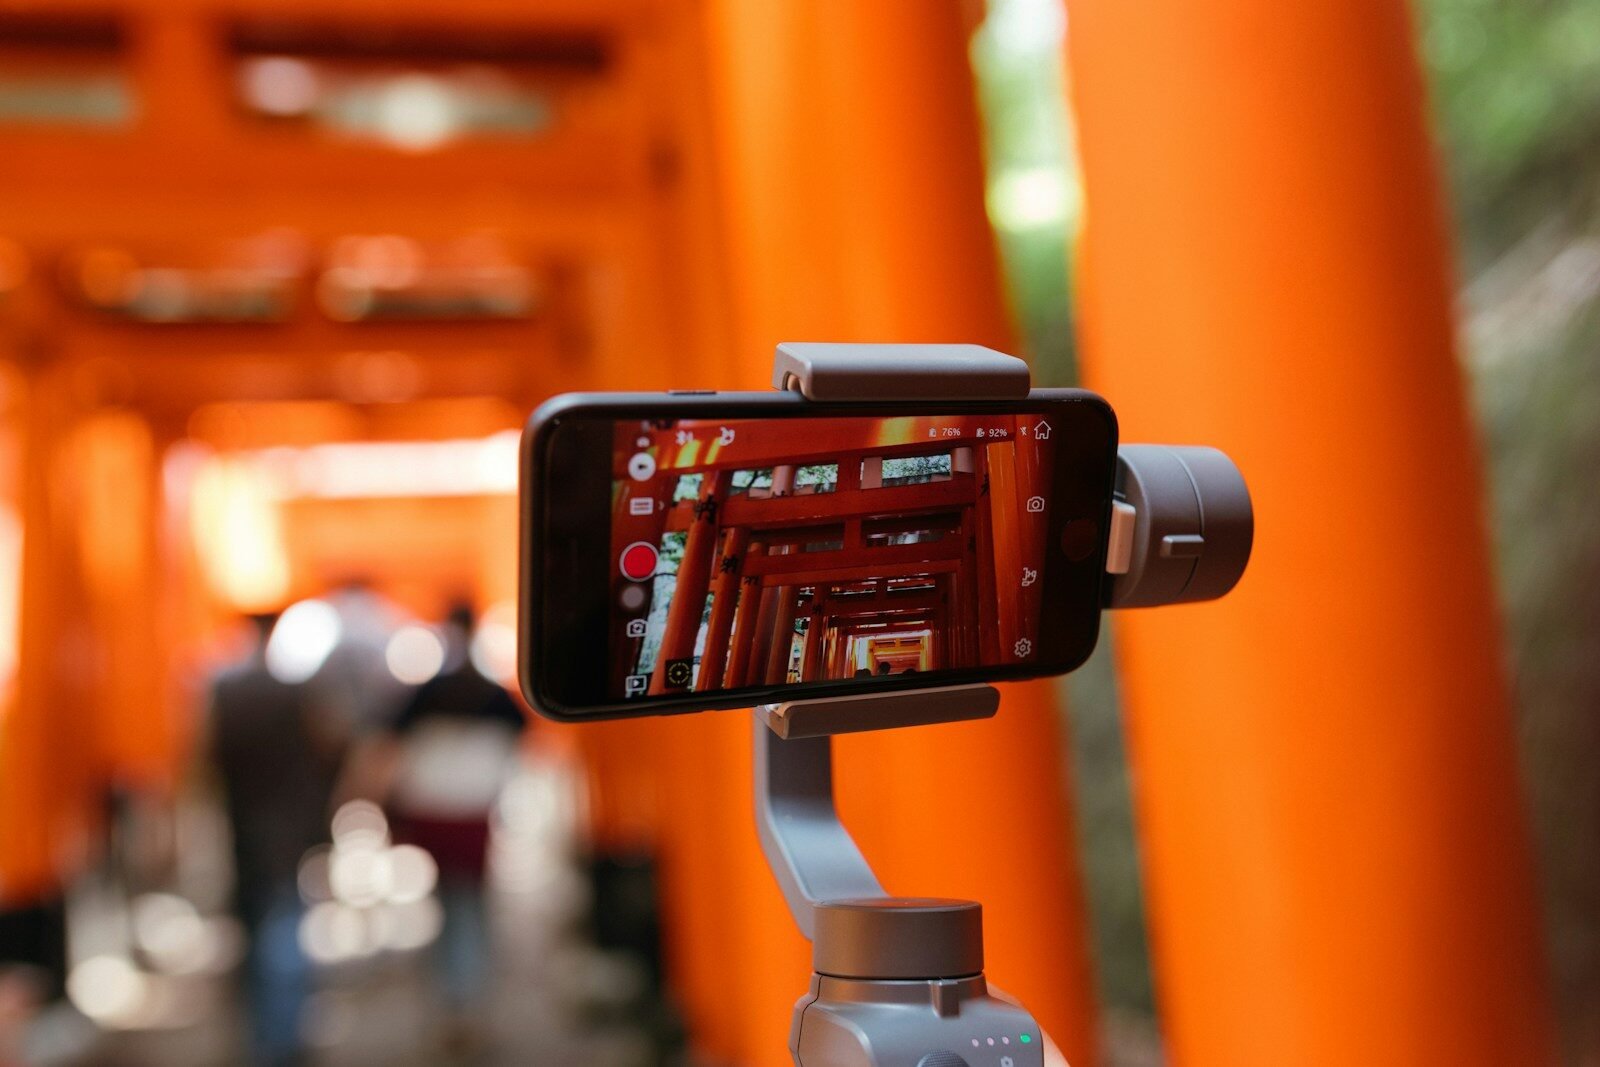
Shaky, handheld footage immediately signals amateur production quality. A simple, affordable smartphone tripod, or even propping your phone against a stable object, significantly improves the perceived professionalism of your video.
4. Record in Landscape Orientation for Most Platforms
Unless specifically creating content for vertical formats (Instagram Stories, TikTok, Reels), record in landscape orientation for a more traditional, professional appearance suited to platforms like YouTube or your website.
5. Frame Yourself Thoughtfully
Position yourself so your eyes are roughly in the upper third of the frame, with reasonable space around you, avoiding either being too close (cutting off part of your head or body) or too far away (making details hard to see).
6. Invest in a Simple External Microphone if Possible
While not strictly necessary, an affordable external microphone (a clip-on lavalier or small directional mic) significantly improves audio quality compared to your smartphone’s built-in microphone, which can pick up unwanted background noise or sound distant and echoey.
7. Minimize Background Noise and Distractions
Choose a quiet recording location, and consider your background — a clean, simple, or genuinely relevant backdrop appears more professional than a cluttered or distracting one.
8. Adjust Your Smartphone’s Video Settings for Quality
Check your phone’s camera settings to ensure you’re recording at an appropriate resolution and frame rate (1080p or higher at 24-30 frames per second generally works well for most purposes), rather than relying on default settings that might not be optimized.
9. Do a Test Recording Before Your Actual Content
Record a brief test clip to check lighting, framing, and audio quality before committing to your actual content, allowing you to catch and fix any issues before investing significant time in recording.
10. Keep a Simple, Loose Outline Rather Than a Rigid Script
Speaking from a general outline of key points, rather than reading a word-for-word script, typically produces more natural, engaging delivery, avoiding the stiff, unnatural feel of obviously scripted content.
If you’d like more detail on specific video formats to consider, see our related guide on simple video formats any entrepreneur can record.
11. Use Basic Editing to Trim and Polish
Simple, free editing tools (including built-in smartphone editing apps) allow you to trim unnecessary pauses, add basic captions, and make minor adjustments that meaningfully improve the final, polished feel of your content.
12. Add Captions for Accessibility and Silent Viewing
Since many viewers watch video with sound off, particularly on social media, adding captions ensures your content remains effective and professional-feeling even without audio.
13. Maintain Eye Contact With the Camera, Not the Screen
Look directly at your camera lens rather than your own image on the screen, creating a more natural, engaging sense of eye contact with viewers, similar to genuine in-person conversation.
14. Consider a Simple Backdrop or Setting That Reflects Your Brand
A thoughtfully chosen, uncluttered setting — your workspace, a relevant part of your business — can add authentic context and professionalism without requiring an elaborate, dedicated studio setup.
Frequently Asked Questions
Do I really need an external microphone, or is my smartphone’s built-in mic good enough?
Built-in microphones can work reasonably well in quiet environments with the phone positioned close to you, though an external microphone provides a noticeably clearer, more professional result, particularly in less controlled environments.
What’s the single most impactful change I can make to improve my smartphone video quality?
Lighting typically has the greatest impact relative to effort required — positioning yourself with good natural or well-arranged light dramatically improves perceived quality more than almost any other single factor.
Should I invest in a tripod even for occasional video content?
Yes, generally. An affordable smartphone tripod is a relatively small investment that significantly improves video stability and overall professional appearance, making it worthwhile even for occasional use.
How long should I spend editing smartphone video content?
For most simple marketing content, basic trimming and minor adjustments are sufficient — extensive, complex editing isn’t necessary for genuinely effective, professional-looking results, and can actually add unnecessary time and complexity.
Can vertical smartphone video still look professional for platforms like Instagram Stories?
Yes, absolutely, as long as the same core principles — good lighting, stable framing, clear audio — are applied consistently, since vertical format itself doesn’t inherently look less professional when executed thoughtfully.
Conclusion: Small Adjustments Make the Biggest Difference
Professional-looking video doesn’t require expensive equipment or extensive technical expertise — it requires attention to a handful of specific, practical factors: good lighting, stable framing, clear audio, and thoughtful setup. By applying these straightforward techniques consistently, you can create genuinely polished, effective video content using nothing more than the smartphone you likely already have.
If you’d like expert help developing a video content strategy that makes the most of accessible, smartphone-based production, get in touch with our team to start creating professional-looking video without significant additional investment.